ZROne Quickstart
From box to driving in under an hour. Step-by-step setup — request a kit, assemble, provision Wi-Fi, create an account, open the control surface.
1. Get a kit
ZROne is in early access — request a kit and we’ll work with you one-on-one to get you set up.
2. Unbox and assemble
Open the box from the top and remove the top foam using the finger holes, if you don’t see any finger holes the box is upside down. Lift the bot directly up and out of the box
3. Power on and connect to Wi-Fi
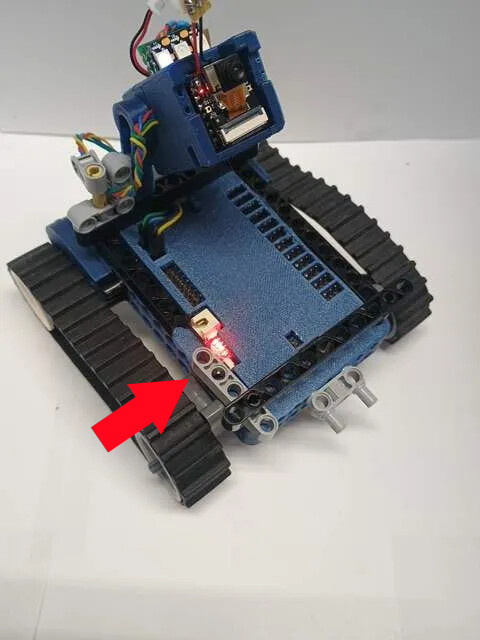
Tap the power button on the main chassis, you simply push the lego lift arm in a bit and it pushes the button on the ZRCore board to turn everything on.
NOTE: to turn off double tap the power button
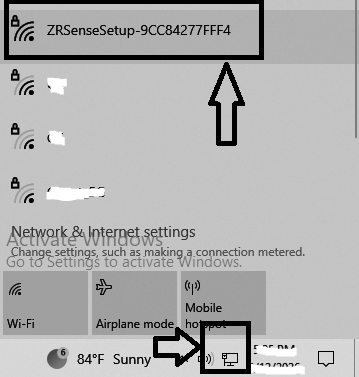
First boot: the bot creates a Wi-Fi network named ZRSenseSetup-XXXX. Connect your phone or laptop to it, using the password ‘12345678’
NOTE: if you never see the zrsensesetup access point and you may have gotten an already used bot you may need to reset the bot to factory default before it will go back into access point mode. Please ask the person who gave you the bot if it was factory reset before giving it to you if not use the Factory Reset.
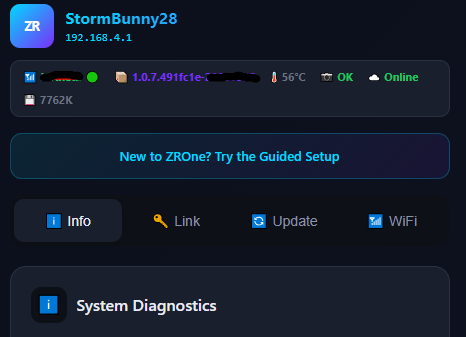
Once you are connected to the ZRSenseSetup access point (the bot) open a browser and go to http://192.168.4.1 to access the local bot website. On the local website click if you’re setting up for the first time click the button that says “Try the Guided Setup”. The guided setup will help you get connected to your wifi and test all the bot components as well as help connect to the cloud.
Note when you get to the provisioning step you will need a provisioning code to connect your bot for cloud control. You can come back later or setup the cloud account and get your provisioning code at this point.
4. Create a ZROne account
Go to home.zonerobotics.com and click “Log In” and click “Create One” under the sign in prompt if you don’t already have an account. You will need a valid email to validate your account.
5. Open the control surface
From your dashboard, click “Open robot control” to launch the live robot control. From here you can copy your provision code to connect your bot to the cloud service, either by using the “setup guide” and skipping to step 7 or clicking link on the main page of your bot’s local website.
6. Build your own controls
Use the drag-and-drop Control Creator to wire joysticks, buttons, sliders, and gauges into a layout that fits how your bot is built. Save and reuse your layouts.
7. Share what you make
Drop your build in the community forum. Get feedback, see what others are building, and vote on what we should ship next.
Stuck? Check the Troubleshooting section or ask on Discord.